Deploy your multi-server applications with GandiCloud VPS private networks
We’re currently introducing a new feature to GandiCloud VPS: private networks.
This feature is currently available via our public API and we are working on making it as user-friendly as possible and adding it to your Gandi administration interface in the near future.
Private networks enable communication between several servers deployed in Gandi’s infrastructure, even if not all of them interface on the public network. In this way, we avoid unnecessarily exposing machines and services to the public network.
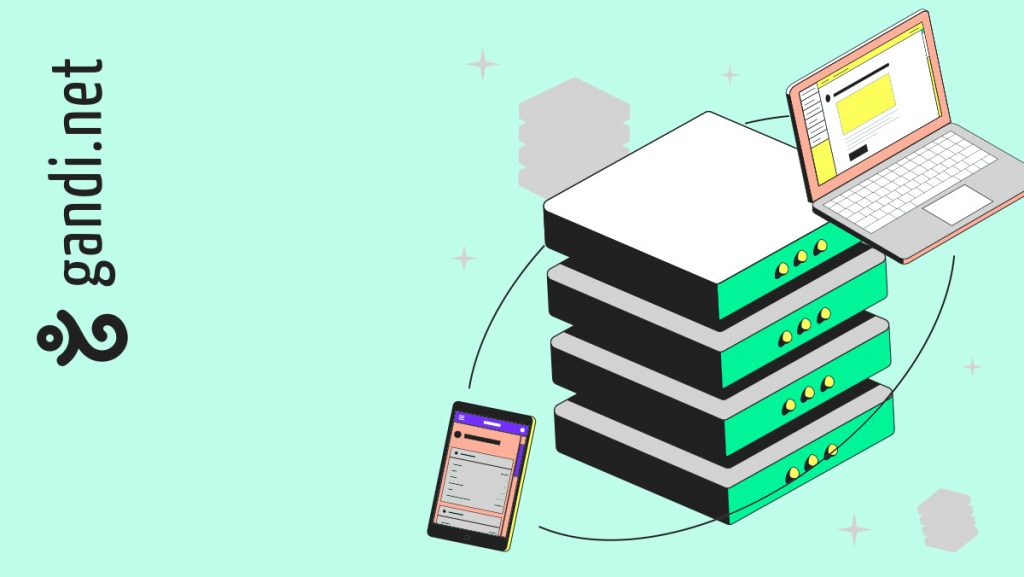
Example of private network deployment on GandiCloud VPS
Like all GandiCloud VPS features, private networks can be managed via our OpenStack public API.
It is therefore possible to manage GandiCloud VPS resources (servers, volumes, networks, etc.) using all the tools that interface with OpenStack, such as Terraform or its recent fork OpenTofu.
You can also use the OpenStack CLI, for which our documentation is available by following this link.
As an example, in this article we propose to deploy a server asciinema, a software application that hosts our own console recordings, using OpenTofu.
This demo deployment will be based on a code repository available on Github, which describes the GandiCloud VPS resources used:
- A private network ‘asciinema_private_network’ with its subnet (‘10.0.1.0/24’)
- 1 ‘db_server’ server hosting a PostgreSQL database which will listen on an address of this private network
- 1 ‘asciinema_server’ server hosting the asciinema-server service, connected to its database via the private network.
The ‘asciinema_server’ server will also be connected to the public network so that it can expose its service on the Internet. To keep things simple, we’ll also provide the database server with a public IP so that it can retrieve the packets needed for its installation.
As a bonus, the provider Terraform Gandi will enable us to automatically configure the DNS zone of our domain name registered with Gandi, so that we can easily access our new service.
Prerequisites
To perform this deployment we will need:
- Git,
- OpenTofu,
- A configuration file for the GandiCloud VPS OpenStack API, which you can create using this documentation
- A Personal Access Token to access Gandi’s LiveDNS public API, which you can create in your Gandi account (more information in the public API documentation). This token must have permission to manage your domain’s DNS zone using liveDNS.
Initial configuration
Let’s start by sourcing the OpenStack access file so that our current shell contains the environment variables required for authentication on GandiCloud VPS:
source <path to my_conf_gandivps.sh>
In order to retrieve the deployment sources, we can now clone the following directory and initialize OpenTofu:
git clone https://github.com/gandi/demo-private-networks-gandicloud
cd demo-private-networks-gandicloud
tofu init
We can now provide our Gandi personal access token:
source ./personal_access_token.sh
A final configuration file is required to indicate the specific parameters of our deployment, which we could copy with a name known by OpenTofu:
cp terraform.tfvars.example terraform.tfvars
All that remains is to edit its contents:
admin_ssh_pubkey = “<your public key for ssh access to servers>”
manage_dns_record_using_livedns = true
asciinema_server_domain_apex = “<your-domain-name example.local>”
asciinema_server_subdomain = “<the subdomain on which your asciinema server will be exposed>”
We’re ready to deploy!
Deployment
Once the environment has been set up, deployment with a tool like Terraform or OpenTofu is extremely simple and relies on 2 commands:
tofu plan
tofu apply
The first will enable you to check the changes to be made (it will therefore list all the resources to be created before deployment). The second will apply these changes.
After executing these commands and deploying your infrastructure, you should see information about your new infrastructure displayed:
Congrats!
To connect to the DB server: ssh <your-database-server>
To connect to the asciinema server: ssh <your-asciinema-server>
Your private network asciinema_private_network has 1 subnet: 10.0.1.0/24.– asciinema server has private IP <private-ip-privée-asciinema-server>
– DB server has private IP <private-ip_database-server>
To register, you can visit http://<fqdn-of-deployment>
To upload your record to your server using the asciinema client:
ASCIINEMA_API_URL=http://<fqdn-of-deployment> asciinema rec
Note that the installation of the various applications is carried out via ‘cloud-init’ when the servers boot. This may therefore take a few seconds after the servers have been booted. To monitor installation progress, take a look at the ‘/var/log/cloud-init-output.log’ file on your servers.
If you’d like to find out more about the configuration options for the asciinema server, check out the dedicated documentation.
Finally, if you wish to delete resources, simply use the following command:
tofu destroy
For more information on using private networks, please refer to our documentation
Other GandiCloud VPS features for your infrastructure
This very simple deployment is intended to demonstrate the use of private networks on GandiCloud VPS. However, for deployments of applications hosting your data or production, GandiCloud VPS offers many other features that you can integrate into your deployments and control via API or our interface. Some of these features include:
- Security groups enable you to define firewalling rules upstream of your servers, to better control their exposure to the outside world.
- snapshots can be used to return to a previous disk state (in the event of mishandling, for example), and automatic snapshots can be created on a regular basis,
- changing server size, adding additional disks and increasing disk size on demand allow you to adapt your deployment as it grows.
Don’t hesitate to share your feedback with us at feedback@gandi.net!