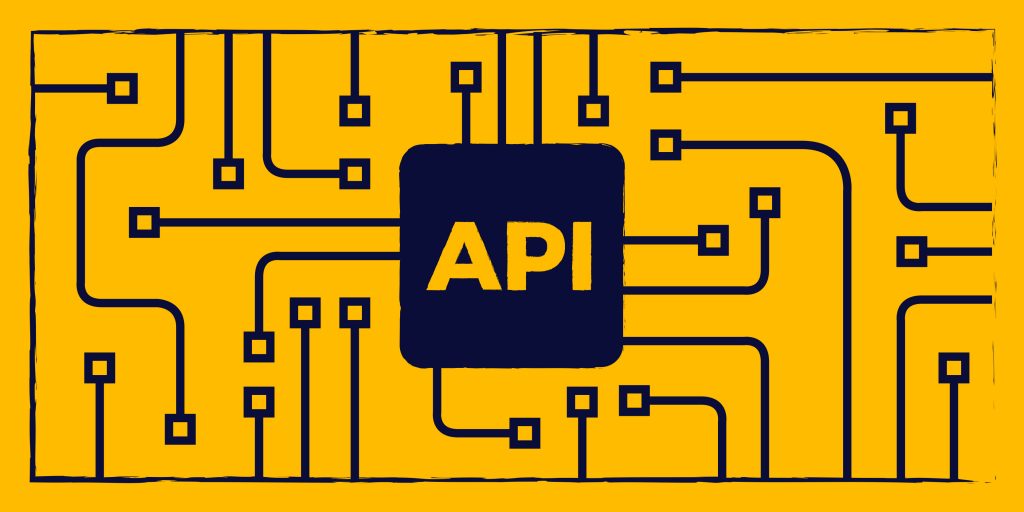
Under the hood of Gandi’s new public API
The redesign of Gandi’s site the past few years is more than just a new coat of paint on the website but is also a fairly consequential change to the architecture of our services.
On the previous version of the site, all operations went through an XML/RPC API, the same which we offered to our customers. And all products used the same, centralized API.
With Gandi v5, we developed a new architecture where each product is managed by it’s own, specific REST API. For example, we have an API just for managing DNS, another for managing domains, and another for hosting products. This model, known as the “microservices” model, works well and allows each product to be partitioned from the others and to advance at its own pace.
Here’s a very simplified schema of the new architecture, with APIs communicating directly with asynchronous services or with one or more databases.

These services allow us to offer a new HTTP API that uses HTTP and JSON verbs as its data format. When we started working on this new public API, we set a few constraints:
- Only expose one general point of entry
- Restrict and transform data sent and received
- Provide clear and up-to-date documentation
To accomplish the first point, we needed a bridge to send requests for a certain path to the right target service. For example, a request GET /v5/domain/domains will be transmitted to http://api-domain.example/v5/domains (this hostname is fictitious).
The restriction and transformation of data requires that each be able to transform what gets sent to the target service and what gets received from that service. In any case, it consists of intercepting requests and their responses and applying whatever treatment is necessary.
For example, if the public API can receive this type of data:
json

{
   "fqdn": "gandi.net",
   "duration": 2

}
And the (internal) target service receives this format:
json

{


"domain_name": "gandi.net",


"duration": 24

}
In this example, the field fqdn should be renamed and the value duration multiplied by 12. This fictitious example illustrates the type of constraints we face.
And finally, an API is nothing without detailed documentation, including sufficient examples and explanations. This documentation should obviously be up to date and should reflect the current state of the API, not how it was a month ago.
A documentation format
We needed to choose a documentation format fairly early in the process and we opted for RAML. RAML is a specification for describing an HTTP API using YAML format files. The syntax is simple and the possibilities of extension are many.
Here’s a (real) extract of the documentation of a part of the mailbox API:
yaml

/forwards:


/{domain}:


displayName: Manage your forwarding addresses


description: |


Forwarding addresses make it possible to redirect mail from
      one or more of your domain’s email addresses to an external
      address. Learn more on the documentation.
securedBy: [lib.api-key]

is: [lib.restricted]
uriParameters:
  domain:


type: lib.Domain


description: Domain name.
get:


displayName: List forwarding addresses


description: |


This route returns a paginated list of forwarded email addresses


on the given domain.
is: [lib.paginated]
queryString:


type: lib.email.ForwardListFilters
responses:


200:


body:


application/json:


type: lib.email.ForwardList
RAML lets us define reusable directives, allowing us to not always repeat the same descriptions everywhere. In the above example, the route GET /forwards/{domain} is paginated (indicated by is: [lib.paginated]; this directive automatically adds the definitions of pagination (the arguments received and the new HTTP headers in the response).
After some tests, we were able to verify that the format would work for our needs and we implemented it for our internal API documentation.
A bridge
Like we explained in the introduction, we needed a bridge in order to transit user requests to the right service and, eventually, modify their data (or their responses). There’s already a large number of tools that allow the implementation of an HTTP bridge but very few of them let you act on the requests and the responses (including data).
We quickly turned towards Express Gateway. This NodeJS application has a certain number of add-ons, including one for creating a proxy. When it was developped, it needed a rewrite to allow the modification of data during transmission.
We transform the data when transmitting a data structure corresponding to an HTTP request or reseponse and when applying a structure that describes the transformation. The following example shows a transformation definition like we might find in our code:
json

{


"rename": {


"headers.x-total-count": "total-count"

},


"alter": "$.apply('body.*', x => {x.href = $.url(x.source);});"

}
This definition (of a response) indicates that we want to do two things:
- Rename the
x-total-countheader tototal-count - Add a key
hrefto each element in the list
The JavaScript code alter is executed in a sandbox and only has access to the variable $ (which contains the information about the objecdt to be transformed and some utilitarian methods).
After a bit (or a lot) of development, we had a bridge ready to use that let us, for each route, indicate how we wanted to transform what the bridge sent or the responses that it received. And we had a documentation format. The next logical step was to bring the two together.
A bridge piloted by the documentation
Like we previously said, we wanted our documentation to be perfectly in sync with the API. Generally and logically, that’s what everyone wants.
There are two ways to get that:
- A tool analyzes a program’s code and extracts the documentation
- The documentation defines the behavior of the program
In our case, the program is in fact the configuration of the bridge. This makes the first option rather complex, not least of all because the Express Gateway configuration is fairly verbose (read: difficult to write).
On the other hand, while the second option is complex when talking about actual code, it’s perfectly feasible in our situation. Implementing it would consist of no more and no less than translating one format to another (from RAML to the configuration of the bridge). The documentation already provides nearly all the necessary information (the path, the methods, the possible responses, etc.). The rest, we can do with RAML extensions.
Therefore, we implemented an extension to Express Gateway in order to load a RAML file at startup, parse it, and generate the final configuration of the bridge.
On the RAML side, we defined some extensions to indicate which service should be used for which section, and how to modify requests and responses.
Continuing the previous illustration, we now get the following:

Here’s what the previous example looks like in context in its RAML file:
yaml

/forwards:


/{domain}:
get:


responses:


200:


body:


application/json:


(x-proxy-actions):


rename:


headers.x-total-count: total-count


alter: |


$.apply('body.*', x => {


x.href = $.url(x.source);


});
You can recognize here the first RAML we gave above. It consists of an extract from the file overloading the documentation previously seen. The parts (x-...) are RAML extensions that are interpreted by the parser and used to generate the configuration of the bridge.
Actually, our public API uses the documentation to configure itself, with the result being that the behavior of the bridge is always in sync with the documentation.
Variables and validation of data
Here we’re calling all data in requests and responses treated by the bridges “variables” (URL parameters, JSON data, headers).
Except a syntax validation (JSON of a request for example), the bridge does not validate the variables with regards to the RAML schema that corresponds to a request or a response. We choose to leave this task to the target services.
Meanwhile, the bridge takes care of a critical step—filtering data. For example, if the schema indicates who can receive parameters A, B, and C in the URL, and a customer sents the parameter D, this parameter will never be sent to the target service.
In the same way, only variables specified in the schema of a response will be returned to the user via the API.
This lets us continue to expand and improve the schemas of our servies without automatically exposing them on the public API. It’s a bit more work on our side but it affords us more control.
Road map
In the coming months, we will be progressively adding missing services and features to the public API. While it’s still in Beta, we are taking care to not introduce any regression in the updates we make.
Finally, with regards to the current XML/RPC API, we won’t be closing it immediately, leaving you time to migrate your tools to the new API, at your own pace.
Please do not hesitate to leave us your comments if you use the new public API by contacting us using our dedicated contact form.
Tagged in APICustomersGandiV5